Four days of fighting (or four campaign turns if you so
wish), and the Russians were well on top, nothing short of a miracle could
derail them, and with such as an aim the Germans went into the final
battle. It was to be a fight for
survival against Russian forces coming from the East, intent to forcing them
out of the remains of the centre of Berlin, and Allied tanks arriving to the
West, looking to cut off the Wehrmacht’s escape route there. The battle began around 10am and lasted until
approximately 3:30pm. Each of the eight
players involved (list below) took a 1750pt army, and fought over the 8
objective markers. Each marker
represented a territory on the map, and the side holding that marker at the end
of the battle held the territory. The
Germans began on the board, the Allied/Russians got first turn and moved on.
For the devious baddies:
Andy Von Canham – Head of Defence of Berlin
‘Tiger’ Phil – Grenadiers
Rick – 18th Panzergrenadier Division (remains of)
Peter – SS Totenkof Panzergrenadiers
For the doo-gooders and empire builders:
Dennis – Russian CO and Chief Romanian
Ben – Russian; artillery and some Romanians
James – Eisenhower in the making, and US Tank Company
Ian – Stiff upper lip and British heavies (Comets)
The Germans began holding most of the objectives, and orders
went out from the Jerry CO to bring many AT weapons, max out on the number of
troops, and prepare to sit tight and weather a storm. They would, however, have to move out to
attack to the West to secure the woodland there which would enable them to
escape the marauding Russian armies. The
Western edge of the battlefield was lightly wooded, with fields and hedges
which contained two objectives for Heldane and Grunewald, while the centre was
mostly clear (Spandau and Charlottenberg), and the East heavily urbanised;
including the opportunity to recapture the Reichstag from the Romanians, and
objectives for Schoneberg and the Kroll Opera House. To the South (geography not perfect) lay the
airport and objective of Gatow, currently in Germans hands but key to the
Allied efforts.
Orders from Russian high command centred around capturing
the centre of Berlin, and this meant that ‘Tiger’ Phil (minus his tigers) would
face a heavy and sustained attack from both Dennis and Ben and the entire
Russian front. The Allies had decided
they did not need to go near Gatow to capture it when securing the easier
target of the Grunewald woods towards the centre of the board would cut off the
airport and its 18th Panzergrenadier defenders and they would
capture it anyway. They chose to mass
their tanks near the woods and ignored the airport, looking towards the centre
instead. The Germans had left Phil to
counterattack and regain the Reichstag in the urban east, Andy was making good
his escape in the wooded west and trying to open the corridor, and my (Rick)
troops were at the airport. Finally
Peter was guarding the hinge between all the German forces to prevent the
Russians or Allies slipping past and gaining the central objectives.
.jpg) |
| The Whole Table - Trees to the West, City to the East, Airport to the South. |
.jpg) |
| 'Tiger' Phils Panthers in a side street. |
.jpg) |
| Andy Von Canham's troops in the West. |
.jpg) |
| SS Totenkof troops. |
The Battle
Onto the fighting, and in the West things started very well
for the Germans, with armoured cars capturing and holding the key woodland
territories of Grunewald and Heldane which linked their forces to Berlin and
the escape route in the West. The Allied
response was sluggish, with the Americans trying to drive through the fields
and getting bogged down frequently, and the British being overly cautious with
their new (and obviously expensive and precious) Comet tanks. The hedgerows slowed both allied players, as
did the railway line (slow going), and they took their time moving up, choosing
to engage in a long ranged duel with Andy Von Canhams few Panzer IV’s. The Panzers were left burning, but still the
Allies were fearful of the 88mm guns waiting in ambush and moved slowly. They also found they couldn’t move more
eastwards without entering into a serious fire fight with a unit of PaK40’s
allocated to the 18th Panzergrenadier Division by ‘Tiger Phil’.
.jpg) |
| Comets arriving. |
.jpg) |
| America armour crosses the railway line. |
.jpg)
To the East ‘Tiger’ Phil was in trouble. Heavy duty comments were being passed his way
by his fellow Germans about his tardiness in failing to secure the Reichstag
building immediately, and the moment had passed. Dennis’ Romanians had advanced methodically
through the ruins and into the symbol of German political power, while Ben’s
Russians (complete with Spetznaz) moved more swiftly onto Phils flank. Phil was heavily outnumbered and in trouble
and even he probably knew it. The 18th
Panzergrenadiers (Rick) sent their StuG G ambush platoon to guard his flank
against Bens forces, combining with the SS Totenkof (Peter) to defeated one of
Bens infantry companies as it tried to move into position. However a second company had already reached
the objective marker for the last German territory in the centre of Berlin; the
Kroll Opera House! Sweeping over it they
assaulted into the overlooking building, driving out Phils confident trained
grenadiers at the point of a bayonet.
Phils response was to crank round his 15cm infantry guns and give the
building both barrels; bringing most of it down around the Russians ears in a
stunning display of Bunker Busting technology which left 15 Russian teams dead,
including almost all of their remaining infantry and their company
commander! Ben, not to be outdone and
still holding the Opera House, unleashed his heavy Katushya rocket launchers,
firstly against the Totenkof crippling their nebelwafer artillery, and then
onto the centre of Berlin, causing massed casualties amongst Phils infantry in
the craters.
.jpg) |
| Ben's Russians on the attack, only to be cut down by StuG's and Totenkof. |
.jpg) |
| Ben's light AT guns, also fell foul of Totenkof. |
.jpg) |
| The Building Of Death - The grave of near 600pts of Russian veterans as Phils 15cm guns destroy it despite the smoke barrage laid by the Russians. |
.jpg) |
| Phils infantry. |
.jpg) |
| The remains of Ben's infantry after the bunker buster hits. |
.jpg) |
| 18th Panzergrenadier StuG's in the city. |
At Gatow airport the remains of the 18th
Panzergrenadier division (it had been a hard campaign) realised early on that
nobody was coming to attack them, and leaving their fallshirmjager allies to
hold the airport (the only unit without transport) they jumped into their
trucks, racing towards the city. Their
AT support; 3 Marder III H’s, were sent Westwards to try and prevent the
British armour from spilling out into the open centre of the battlefield, a
task which they were helped in by the Totenkof mobile artillery, StuG’s, and
the PaK40’s already there. The Brits
sent a couple of Comet platoons, but despite wiping out the Marders and StuG’s
they lost both platoons and having off worst were restricted to operating
solely to the West. Frustratingly for
them Phils heavy artillery; positioned facing the wrong way to help him, was
positioned the right way to drop high explosive on the Allied tanks. The feared 88mm FlaK36 guns put in an
appearance, and cost the Brits two more Comets, with a vicious fire fight
erupted afresh amongst the hedgerows. Neither
side were gaining the upper hand, but the Germans were already in possession of
the objectives.
.jpg)
.jpg) |
| Marder III H's in the open coming off worst against the Comets. |
.jpg) |
| Andy's 88mm guns arrive. |
Back to the city and the 18th Panzergrenadiers
and the SS Totenkof had reached a decision during the lunch break that they
should try to rescue Phil and his grenadiers.
Ben, despite his offensive capability being curtailed, had other ideas
however, and defeated the 18th’s StuG’s; destroying 3 out of the 5
with his near-invincible ISU-122’s.
Phil’s singular ungrateful attitude towards the efforts being made to
help him resulted in the Totenkof calling it a bad job and moving back to their
trenches in distain. The Panzergrenadiers
had already committed their pioneers, mortars and heavy machine guns, and their
Nebewafers were also firing upon the Reichstag, so they had no choice but to
remain.
Phil, still under heavy bombardment, finally attempted to
launch a counter attack towards the craters he had just been evicted from by
Dennis’ advancing infantry. However his
armoured support (3 Panthers) bogged down as soon as it tried to move in the
rubble-filled streets, and the Romanians had filled the Reichstag and
surrounding buildings with heavy machine guns so the grenadier assault was
driven back by a hail of bullets and was unable to start again. Phil managed to get most of his Panthers
going, but their position saw them take a lot of artillery fire which decimated
the units around them, including the 18th’s pioneer platoon. This bunch of worthies moved into a building
to the South of the open area next to the Panthers, only to find the Romanians
had infiltrated every building to the East of them, and had brought up
flamethrowers.
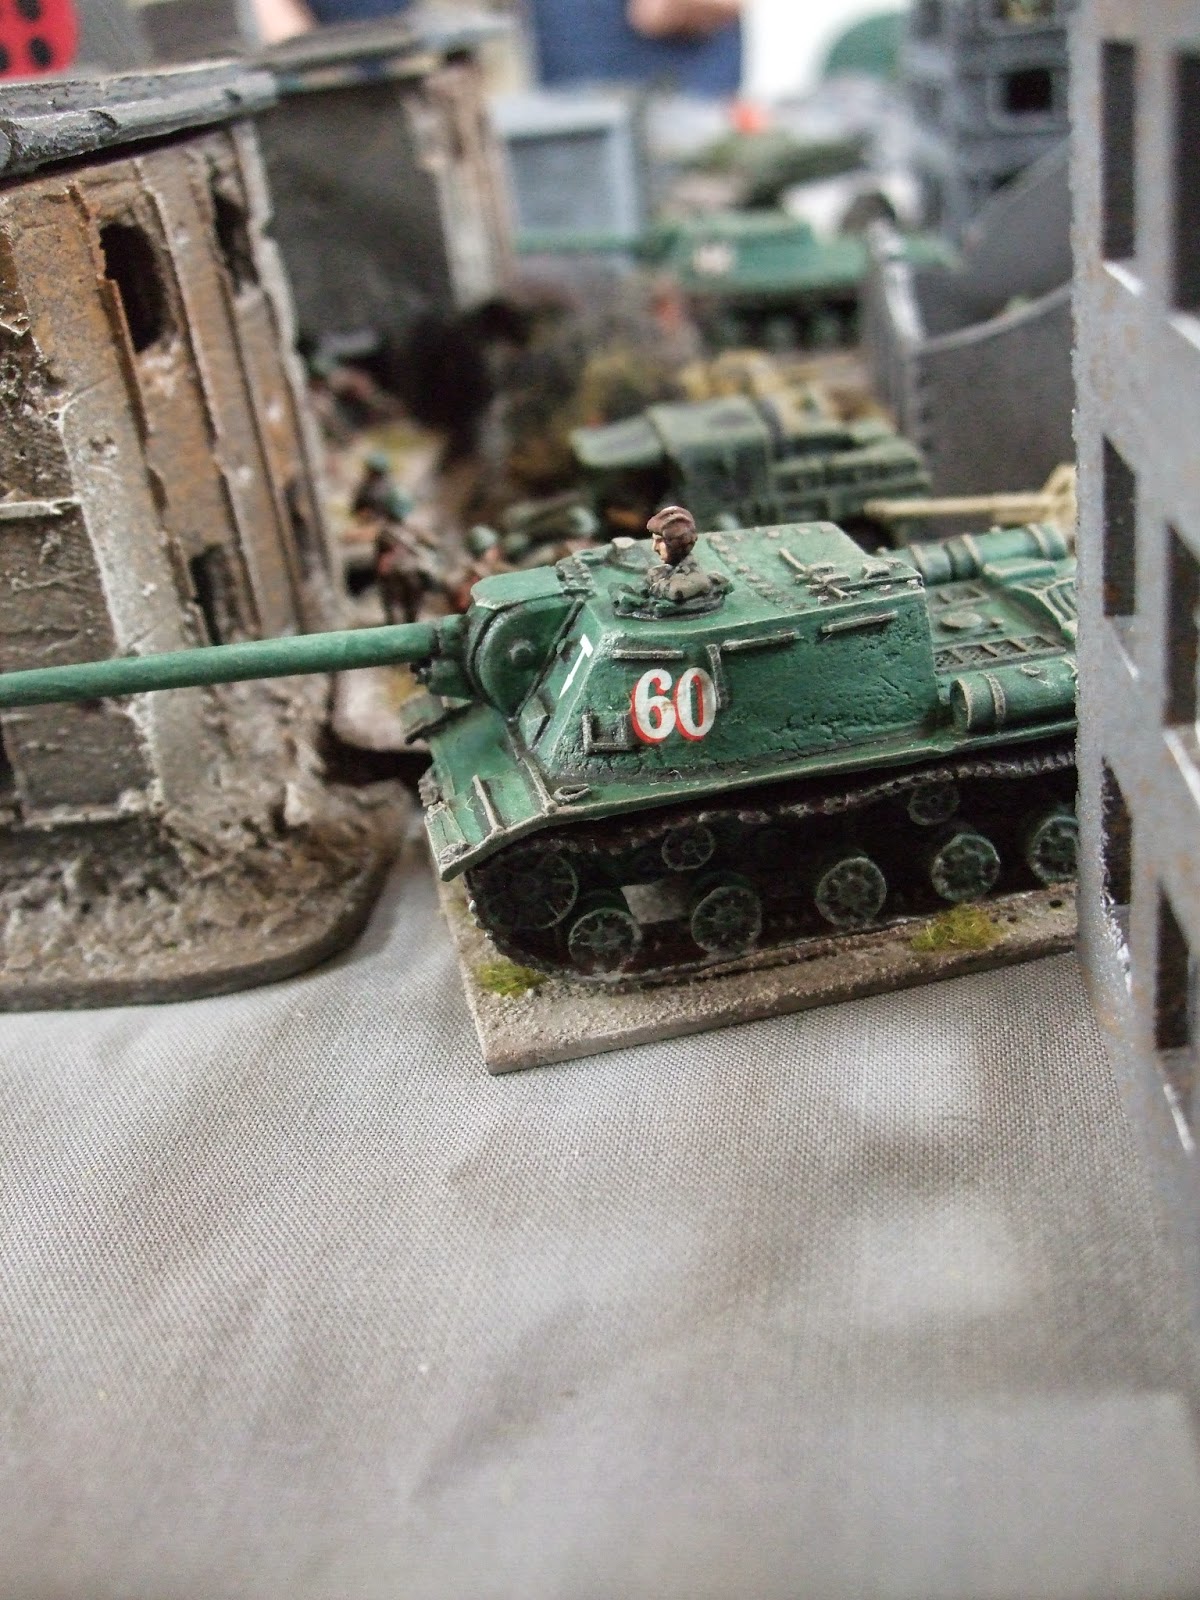
.jpg) |
| Dennis' ISU-122. |
.jpg) |
| Romanian troops at the rear of the Reichstag. |
.jpg) |
| Phils troops in the streets of Berlin. |
.jpg) |
| Totenkof artillery firing on the Allies. |
.jpg) |
| The Panthers come out to fight, but the counter attack fails. |
.jpg)
At this point, with Phil and Ben’s troops bled dry, and my
attempts to help being unsuccessful, the battle for the city was pretty much
over. The Russian/Romanian alliance had
conquered the Reichstag (again), gained the Kroll Opera House (the last
territory in the very centre of the city), and the Germans lacked the troops to
drive them back. On the contrary the
expert in urban warfare, Dennis, had husbanded his forces and was preparing to
drive onwards towards the Schonberg objective and the West. We decided to call time, and the last actions
were left to the battle between the Allies and Andy’s troops in the West, where
James Yanks had finally managed to outflank the German defenders, but lacked
the firepower to defeat them and drive them away from the objective. The British had taken numerous casualties,
and the Germans took advantage; sending forward their final reserve, an
armoured panzergrenadier platoon, to wipe out the British armoured infantry. The British were in disarray and failed their
company morale check, leaving the Germans in control of the objectives and the
way to the West clear.
.jpg)
.jpg) |
| Mole problem. |
.jpg) |
| The British in trouble. |
.jpg) |
| American armour trading fire with German infantry. |
.jpg) |
| Last action of the battle - German armoured panzergrenadiers drive off the British infantry. |
Post-Battle Script
A hard fought battle indeed, with the big winners being the
Russians who claimed what they came for in the shape of the centre of the city
of Berlin. The Germans were next
happiest, with the airport of Gatow and an escape route to the West seized and
held open, while the Allies will curse their tardiness, and wonder what-if they
had gone hell-for-leather and attacked.
Phil, despite his refusal to counterattack until it was too late, held
on for a long time against heavy odds, while Andy faced even worse, but against
a foe which didn’t press its advantage.
Dennis had had recent experience of city fighting and it showed, while
much of my 18th Panzergrenadiers and Peters Totenkof struggled to
get into the fight. With this battle the
campaign is over, and anyone who has followed any part of it will suspect
correctly that the Russians are the victors, I will just have to tot up the
totals and produce a final report.


.jpg)


.jpg)
.jpg)